
Readers like to know who’s behind the book. A friendly face next to a bio can turn a casual browser into a buyer, and it makes interviews, newsletters, and launch posts feel more personal. But a professional photo shoot costs time and money, and not every writer has either. An AI photo generator like Dreamina gives you another route: describe the portrait you want, and get polished options in minutes. This guide shows you how to plan the look, write a prompt, and finish the image so it fits your book and your audience. Even if you do have a camera-ready photo, extra options never hurt.
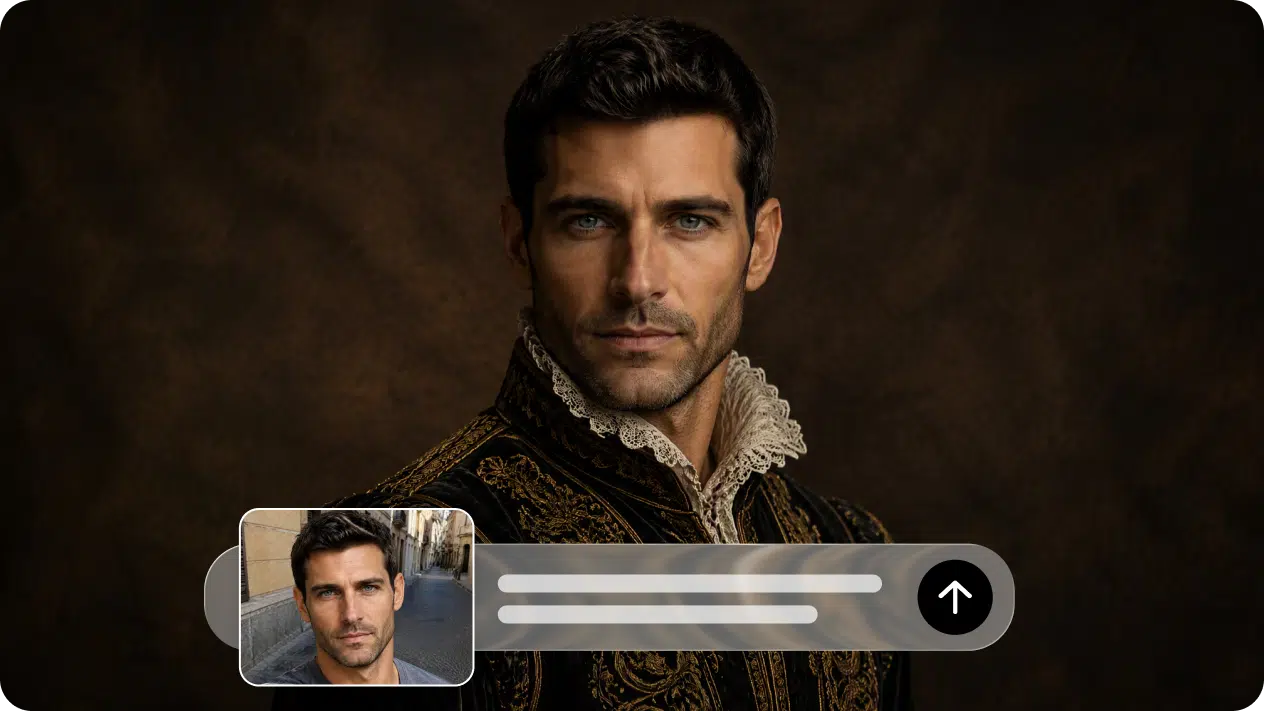
Why an author’s face sells books
People connect with people. A portrait tells readers whether the voice behind the book is warm, mysterious, or witty before they’ve read a word. It also gives you a consistent image across your website, Amazon profile, social accounts, and back cover. The goal isn’t glamour. It’s recognition, trust, and a mood that matches your writing, so a thriller author and a picture-book author should look quite different. Many readers also look up an author before buying, so a polished image can be the first impression that counts.
Deciding on your author vibe
Match the look to the genre and the reader you want:
- Memoir or literary fiction: soft window light, cardigan, bookshelves
- Thriller or mystery: moody tones, dark coat, rainy window or city dusk
- Romance or cozy fiction: warm colors, garden or café setting, relaxed smile
- Nonfiction or business: clean studio background, crisp clothing, confident pose
Pick one and commit. A clear look is more memorable than a mixed one. If your books span genres, choose the tone of your best seller.
Frame your author photo in three Dreamina steps
Step 1: Write a text prompt
Go to Dreamina and write a detailed text prompt covering the person, outfit, setting, light, and mood. Try this one: “A professional author portrait of a woman in her forties with shoulder-length dark hair, wearing a mustard cardigan over a white shirt, seated beside a tall bookshelf in warm window light, soft natural smile, shallow depth of field, calm and approachable mood, waist-up framing, editorial photography style.” Don’t copy someone else’s exact words; swap in your own details, like hair, clothing, and room.
Step 2: Adjust parameters and generate
Choose your model, pick an aspect ratio (vertical suits back covers and bios, square suits social media), set the size, and select 1K or 2K resolution. Click Dreamina’s icon to generate. Test a couple of aspect ratios, since each gives a slightly different composition. Go with 2K for anything that might be printed.
Step 3: Customize and download
Use Dreamina’s AI customization options to refine the portrait. Inpaint adjusts a specific area like a collar or hair strand, expand widens the frame for a banner crop, remove clears distracting objects, and retouch smooths small flaws. Then click the Download icon to save the image. Small edits often fix what feels off.

Wardrobe, light, and background details
Small choices do a lot of work in portraits. Solid colors read better than busy patterns. The soft side lighting should be welcoming in nature, and dramatic shadowing is suitable for dark films. Ensure that there is an interesting backdrop that relates to your work, such as books, a table, or a window that shows something interesting. Ensure you do not use too many props that will distract viewers’ attention from your face. Warm tones tend to feel inviting, while cool tones read as professional and calm.
What Seedream 5.0 Pro adds to polished portraits
Portraits need fine control, and Seedream 5.0 Pro offers it in a few ways.
Edits that follow instructions
Point selection, lasso, and sketch guidance let you tell the model exactly where to change something, and 2K output keeps skin and fabric detail crisp. That level of control is handy for fixing a stray collar line.
Separate visual layers
Subjects, backgrounds, text, and effects are handled as distinct layers, so you can change a backdrop without redoing the face. It’s an easy way to try three backdrops with the same face.
Fewer rounds of revision
Precise editing means you spend less time regenerating and more time choosing, which helps when you need a result before a launch date. That’s a real relief when a deadline is close.
One portrait, many platforms
Think about where the image will end up before you finalize it. A vertical crop works for a back cover or press kit, a square one for social profiles, and a wide one for a website header. Generate at a higher resolution, then crop for each use. Keep the lighting and outfit consistent across versions so your image feels cohesive wherever readers meet you. A quick preview on a phone screen shows whether the face reads at thumbnail size.
Be upfront about what the picture is
A generated portrait is not a photograph of a real person, so think about how you present it. If you write under a pen name, an illustrated or stylized portrait is a natural fit, and a short note saying it’s AI-created keeps things honest. Avoid using a generated face to imply a real person exists. Readers value trust, and a little transparency protects it. If you ever use a real photo of yourself, consider using this tool for backgrounds and edits only.
Put a face to your pages
A strong author portrait tells readers who they’re about to spend hours with. Dreamina and Seedream 5.0 Pro make it easy to design one that fits your genre without booking a studio. Choose your look, write your prompt, and see which version feels right. Your book deserves a face as memorable as its cover. Your readers are curious about you, so give them something to remember.

This content is brought to you by the FingerLakes1.com Team. Support our mission by visiting www.patreon.com/fl1 or learn how you send us your local content here.